

 English
  Français
  Español
  Русский
  Português
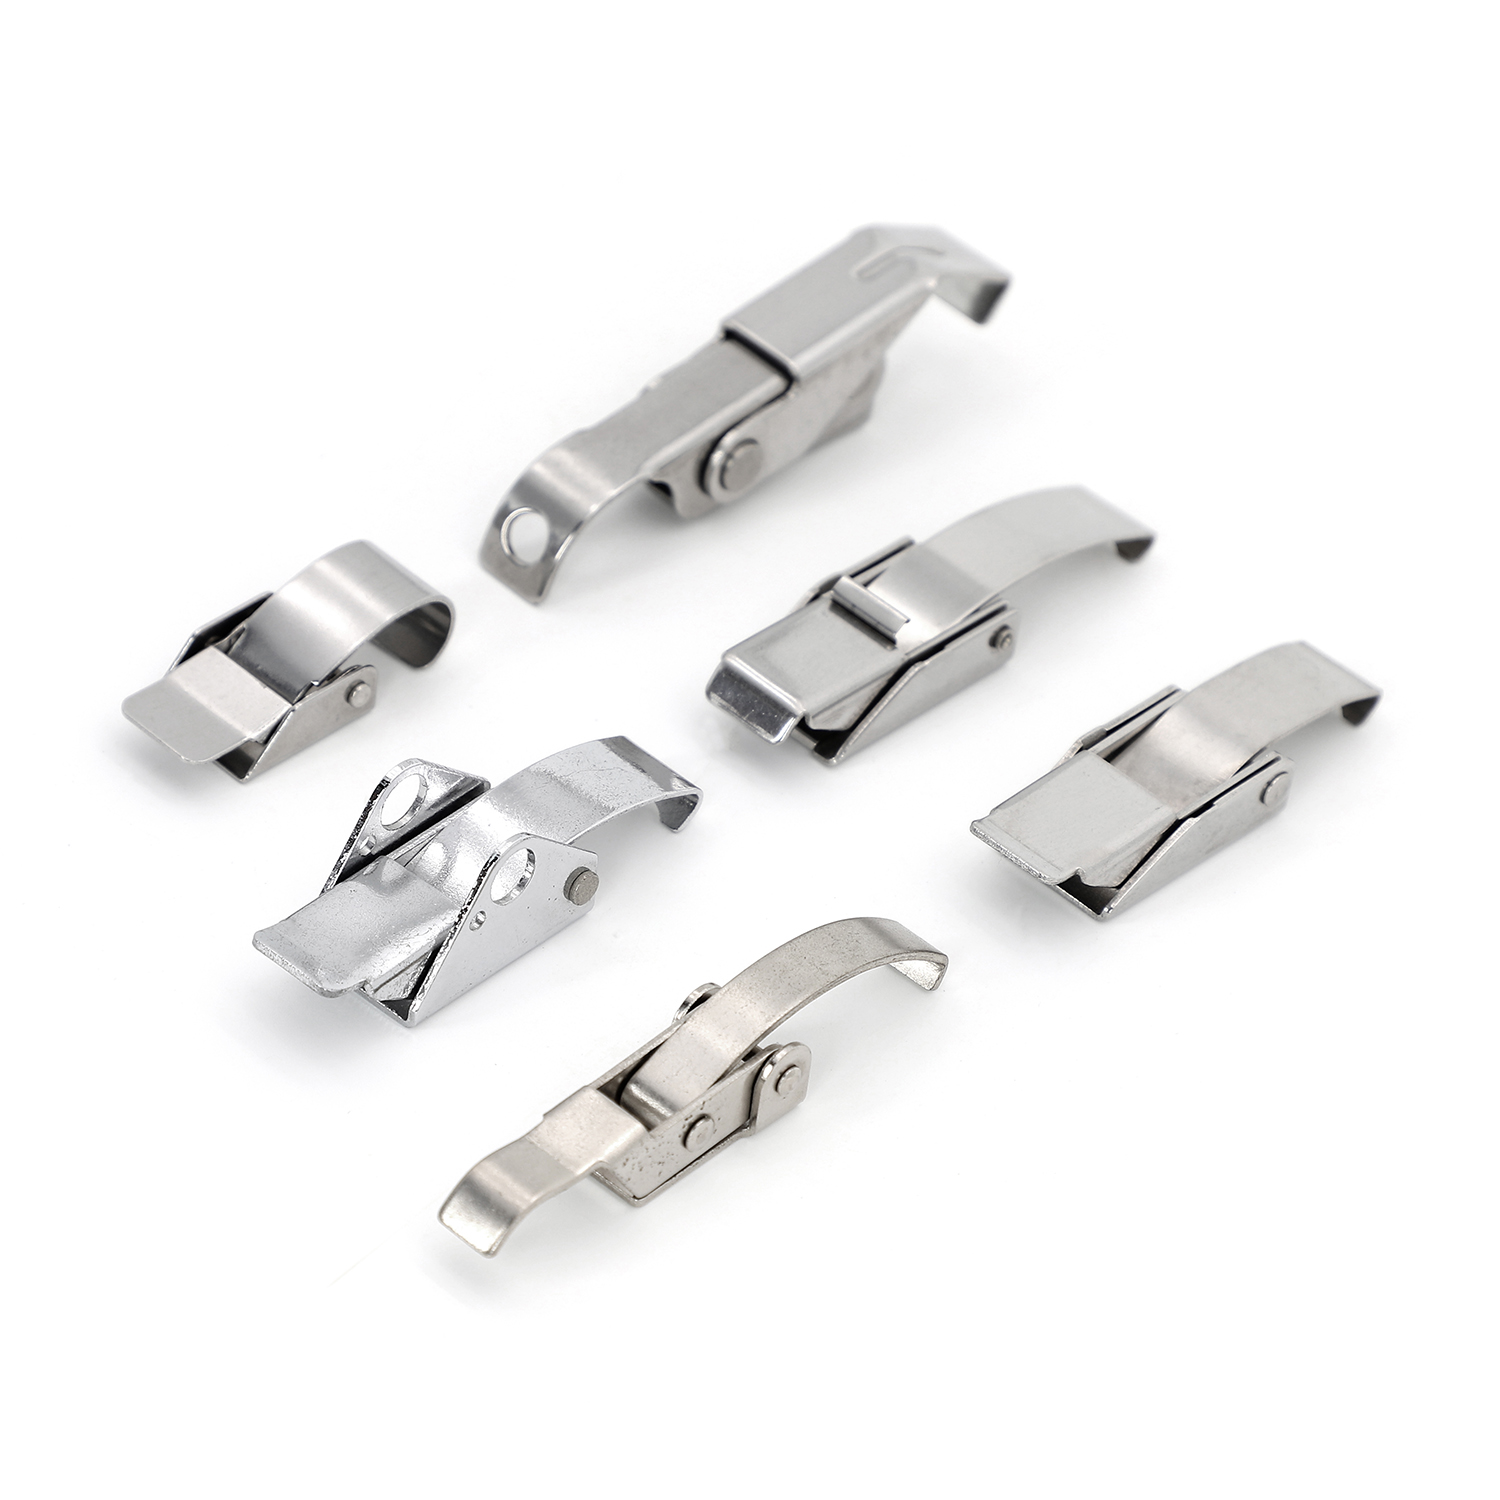

press tool knowledge
Views : 4289
Update time : 2018-04-06 08:42:46

One, what is a press tool?
Press tool is a special process equipment for processing the material (metal or non metal) into parts (or semi finished products) in cold press process. It is called cold press tool (commonly known as cold stamping die). press, at room temperature, is a pressure processing method using the mold installed on the press to make the material pressure to produce the separation or plastic deformation so that the required parts can be obtained.
Two. The design steps of the press tool
The first step is to analyze the feasibility of the product of the designed mold. Taking the computer case as an example, first of all, the components of the product drawings are analyzed with the design software, that is, the drawings in our work, to ensure the correctness of the drawings before the mold design, and on the other hand, we can be familiar with the components in the entire chassis. The importance of determining the key dimensions is very good for mold design. The detailed layout method is not introduced here in detail.
The second step: after the analysis of the product, what kind of mold structure is used to analyze the product, and the production process is carried out, the contents of each process are determined, and the design software is used to carry out the product. When the product is unfolded, the product is generally unfolded before the follow-up project, for example, a product needs five. In the process of pressing, the completion of pressing starts from the product drawing to four, three, two, one, and then copies one copy and then carries out the work of the previous project. That is, the product of the five project is completed, and then the meticulous work is carried out, and this step is very important, and the same step is very important. It is necessary to be very careful. The good words that are completed in this step will save a lot of time in drawing the mould drawing. After determining the contents of each project, the internal and external lines of the thickness of the material are retained in the molding mold to determine the size of the convex and concave mold, and the method for the product expansion will not be explained here. It is introduced in the method of product expansion.
The third step: prepare the material, prepare the material according to the product development map, determine the size of the template in the drawing, including the fixed plate, the discharge plate, the concave die, the insert, etc., pay attention to the preparation of the material directly in the product drawing, so that it is of great benefit to the drawing of the mould drawing, and we see a lot of mould designers directly to the product exhibition. Manual calculation is used to prepare the material. This method is too inefficient to draw the size of the template directly on the drawing. It is expressed in the form of a group diagram. On the one hand, the material can be finished. On the other hand, many work is omitted in the work of the parts of the mold, because it is only needed to be added to the spare parts drawing in the work of the components. Positioning, pin, guide column and screw hole.
The fourth step: after the preparation is completed, we can fully enter the drawing of the mould drawing, make one copy in the preparation drawing, and make the drawing of each component, such as the hole position such as the screw hole, the guide hole, the positioning hole and the other holes in the punch die. In the molding die, the forming clearance of the upper and lower dies is certain, and the forming clearance of the upper and lower dies is certain. It can't be forgotten, so the mould drawing of a product has almost finished 80% after the completion of these work. In addition, we should pay attention to the process of drawing die drawing, such as the working procedure, such as the cutting line of the fitter, the line cutting until the different processing procedures are fully made, so that it is very good for the line cutting and drawing management. The marking of size is also a very important work, and it is also the most troublesome work, because it is a waste of time.
The fifth step: after the completion of the above drawings, in fact, the drawings can not be issued, and the drawing of the mould must be proofed, all the parts are set up, the different layers are made for each different mold plate, and the same datum, such as the guide column hole, is analyzed, and the product expansion diagram of each process is put into the group diagram. To ensure the consistency of the holes in each template and the clearance between the upper and lower die positions in the bending position is correct.
After the above work, the mould drawing of a product is completed formally. The above is a general introduction to the direction and steps of the mold design. At the same time, every mold designer has its own method. In any case, the efficiency of the work is very important.
Three, the maintenance and maintenance of the press tool
1. Check and maintain in front of the mold:
1., according to the size of the punching shear force of the die, correctly use enough tonnage press. (the tonnage of the general machine tool must be larger than the punching shear force of the die).
2., before the die is on the machine, check the clearance of the cutting edge of the punching arrow, so as to prevent the exit gap of the cutting tool when loading and unloading, and then adjust it to the machine.
The upper and lower surfaces of the mold should be cleaned before the 3. dies, so as to ensure the pressure of the working table of the die installation surface and the punch and the parallelism of the upper and lower mounting surfaces of the mould.
The working surface of the 4 punch must be parallel to the bottom of the slide, and the deviation of parallelism should be less than 0.03.
5. the mold will be opened after the mold, the mold parts clear clean, especially the guiding mechanism, the surface parts (appearance) of the mold surface clean clean, to ensure the quality of the parts to ensure that the sliding parts of the mold and each part of the mold inspection, especially the safety parts (such as punching waste holes, etc.).
After 6. samples are washed out, it is necessary to confirm immediately whether they are in conformity with the product specifications.
Two. Maintenance in production:
1. when the die is used, the guide pillar and guide sleeve should be lubricated regularly.
2. in the production of the corresponding parts of the mold
Related News
Read More >>


